• Discover effective commercial roof waterproofing methods to protect your building from water damage
• Learn step-by-step techniques for applying waterproofing materials efficiently and economically
• Understand why professional installation ensures longevity and reliability for your waterproofing investment
Recognizing the Warning Signs of Water Damage
As a property owner, it’s vital to recognize the early signs of water damage on your commercial roof, as prompt action can save you considerable time and expense. Look for telltale indicators such as water stains on the ceiling, a telltale sign of a compromised roof allowing moisture ingress. Don’t overlook the condition of the exterior roofing material; warping or buckling surfaces are often precursors to leaks. Be particularly vigilant after heavy rains; pooling water could indicate inadequate drainage, a problem that escalates quickly if left unattended.
Preparing Your Roof for Waterproofing
Before you can implement commercial roof waterproofing techniques, a thorough cleaning of the roof surface is non-negotiable. A clean roof not only ensures better adhesion of waterproofing materials but also provides an opportunity to inspect the surface for any subtle signs of damage. Clear away every bit of debris, dirt, and dust — a pristine surface is key to an effective waterproofing process. Remember, this cleanliness should extend to gutters and downspouts, as blocked drainage systems exacerbate water retention issues.
Selecting Materials That Seal the Deal
The selection of waterproofing materials is a critical step that determines the effectiveness and longevity of your efforts. With options ranging from traditional bituminous coatings to modern liquid membranes and durable polyurethane solutions, each material offers distinct advantages. Consider both the climate of Chalmette and the specific structural aspects of your commercial property when making this decision. It’s about creating a custom solution that offers resilience against the unique weather patterns you’ll encounter as the seasons change from the sweltering summer heat to the cool, wet fall.
Repairing Damage Before Waterproofing
The integrity of your commercial roof’s waterproofing is only as strong as the roof itself. It’s imperative to repair any damage such as cracks or blisters prior to applying waterproofing materials. These imperfections can compromise the entire system, leading to water intrusion and potential damage to the building’s interior. A well-applied, compatible roof sealant should blend seamlessly with the waterproofing product, creating a formidable barrier against moisture.
Applying the First Line of Defense: Primer
Priming your roof is a foundational step in the waterproofing process, ensuring that the chosen materials adhere properly and provide long-lasting protection. An even application of primer can significantly enhance the bond between the roof surface and waterproofing layers, acting as a first line of defense. Once applied, it’s crucial to allow the primer to dry thoroughly, as recommended by the manufacturer’s guidelines. To learn more about the optimal application of primers and waterproofing systems, visit our commercial roofing services.
Step 1: Assess Your Commercial Roof’s Condition
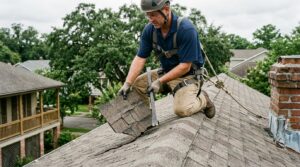
Examine your commercial roof closely to identify any existing damage or weak points that could be exacerbated by water. Pay special attention to areas around protrusions like vents and chimneys, as these are common sites for leaks.
Step 2: Clean the Roof Surface
Before any waterproofing can begin, ensure the roof surface is thoroughly cleaned. Remove all debris, dirt, and dust to ensure a smooth application of waterproofing materials.
Step 3: Choose the Right Waterproofing Material
Select a waterproofing material that is durable and suitable for your roof type. Common options include liquid waterproofing membranes, bituminous coatings, and polyurethane coatings.
Step 4: Repair Roof Damage
Address any damage such as cracks, blisters, or splits in the roofing material. Use a roof sealant compatible with your waterproofing product to ensure a proper bond and prevent future leaks.
Step 5: Apply Primer
If the waterproofing material requires it, apply a primer to the roof surface to improve adhesion. Ensure the primer is evenly applied and allowed to dry according to the manufacturer’s instructions.
Step 6: Install the Waterproofing System
Apply the chosen waterproofing system according to the manufacturer’s guidelines. This could involve rolling on a liquid membrane, spraying a polyurethane foam, or laying down a bituminous sheet.
Step 7: Ensure Proper Sealing
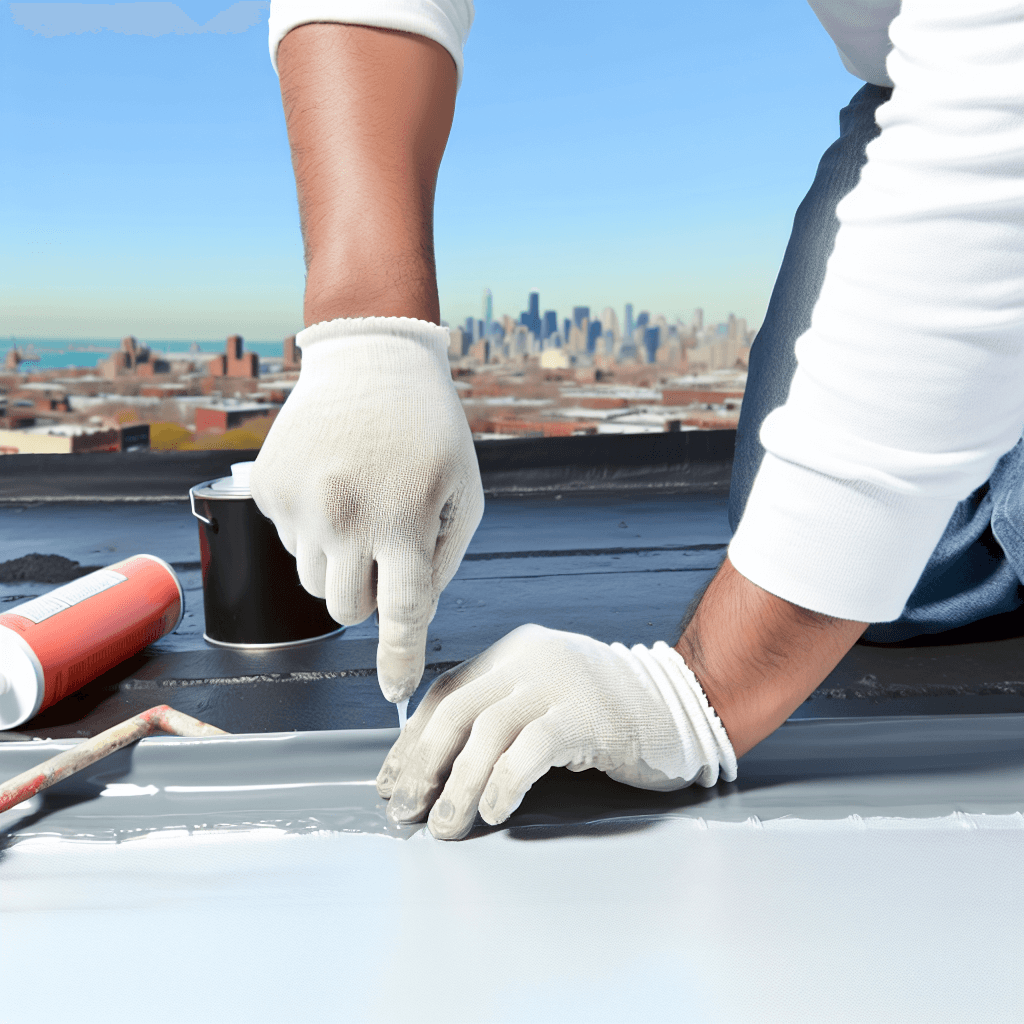
Pay special attention to seams, joints, and edges where water has the highest chance of entry. Use sealants or additional material to reinforce these areas and ensure they are watertight.
Step 8: Inspect and Maintain Regularly
Once the waterproofing process is complete, schedule regular inspections to maintain the integrity of the roof. Proper maintenance will extend the life of the waterproofing and protect the interior of the building.
Common Mistakes to Avoid in Commercial Roof Waterproofing
Waterproofing your commercial roof can seem straightforward, but even the smallest oversight can lead to significant issues. It’s crucial to avoid common pitfalls that could undermine the efficacy of your waterproofing efforts. By understanding these frequent errors, you can ensure a more effective and enduring solution for your commercial property.
Mistake 1: Insufficient Roof Assessment
People often skip a thorough inspection before starting the waterproofing process, which can lead to undetected damage worsening over time. To prevent this, conduct a detailed evaluation of your entire roofing system, focusing on common problem areas like around vents and chimneys.
Mistake 2: Neglecting Surface Cleanliness
A common oversight is not cleaning the roof surface adequately, which can result in poor adhesion of waterproofing materials and eventual failure. Ensure removal of all debris, dirt, and dust for a flawless application and adherence of the waterproofing system.
Mistake 3: Choosing the Wrong Waterproofing Materials
Selecting materials that are not suitable for the specific roof type or environmental conditions is a mistake that can lead to premature degradation. Always opt for materials that are compatible with your roofing system and the climate in Chalmette, focusing on durability and longevity.
Mistake 4: Improper Repair of Pre-existing Damage
Failing to properly address existing damage such as cracks or blisters before applying waterproofing products can compromise the seal and effectiveness. Use a compatible roof sealant to repair damage correctly, ensuring a strong bond and a water-resistant barrier.
Mistake 5: Incorrect Primer Application
Applying primer unevenly or not allowing it to dry completely can result in weak spots in the waterproofing layer. Follow the manufacturer’s instructions for primer application carefully to maximize the adhesion and efficacy of the waterproofing material.
Mistake 6: Inadequate Waterproofing Installation
Improper installation of the waterproofing system, whether it’s a liquid membrane, foam, or bituminous sheet, can leave your roof vulnerable. Adhere strictly to the guidelines for application to ensure full coverage and protection from water penetration.
Mistake 7: Forgetting Seams and Joints
Overlooking the reinforcement of seams, joints, and edges is a critical error that can lead to leaks. Make sure to seal these areas with precision, using additional materials if necessary, for a completely watertight roof.
Mistake 8: Poor Maintenance Post-Waterproofing
Not scheduling regular inspections and maintenance after waterproofing can shorten the lifespan of your roof system. Set up a regular inspection routine to catch potential problems early, maintaining the integrity of your waterproofing efforts.
Sealing and Strengthening Your Commercial Roof
Installing the waterproofing system is a critical stage that requires precision and attention to detail. Ensure that every inch of your roof, especially critical areas like joints and edges, are thoroughly covered. These spots are notorious for leaks and must be reinforced properly to guarantee a watertight seal.
Regular Inspection for Lasting Protection
Having established your commercial roof’s defense against water, maintaining this protection is key to its longevity. Schedule regular inspections and engage in proactive maintenance to catch and remedy any issues early. For expert assistance and a customized maintenance plan, consider the services offered by Peralta Renovations to keep your commercial roof in optimal condition year-round.